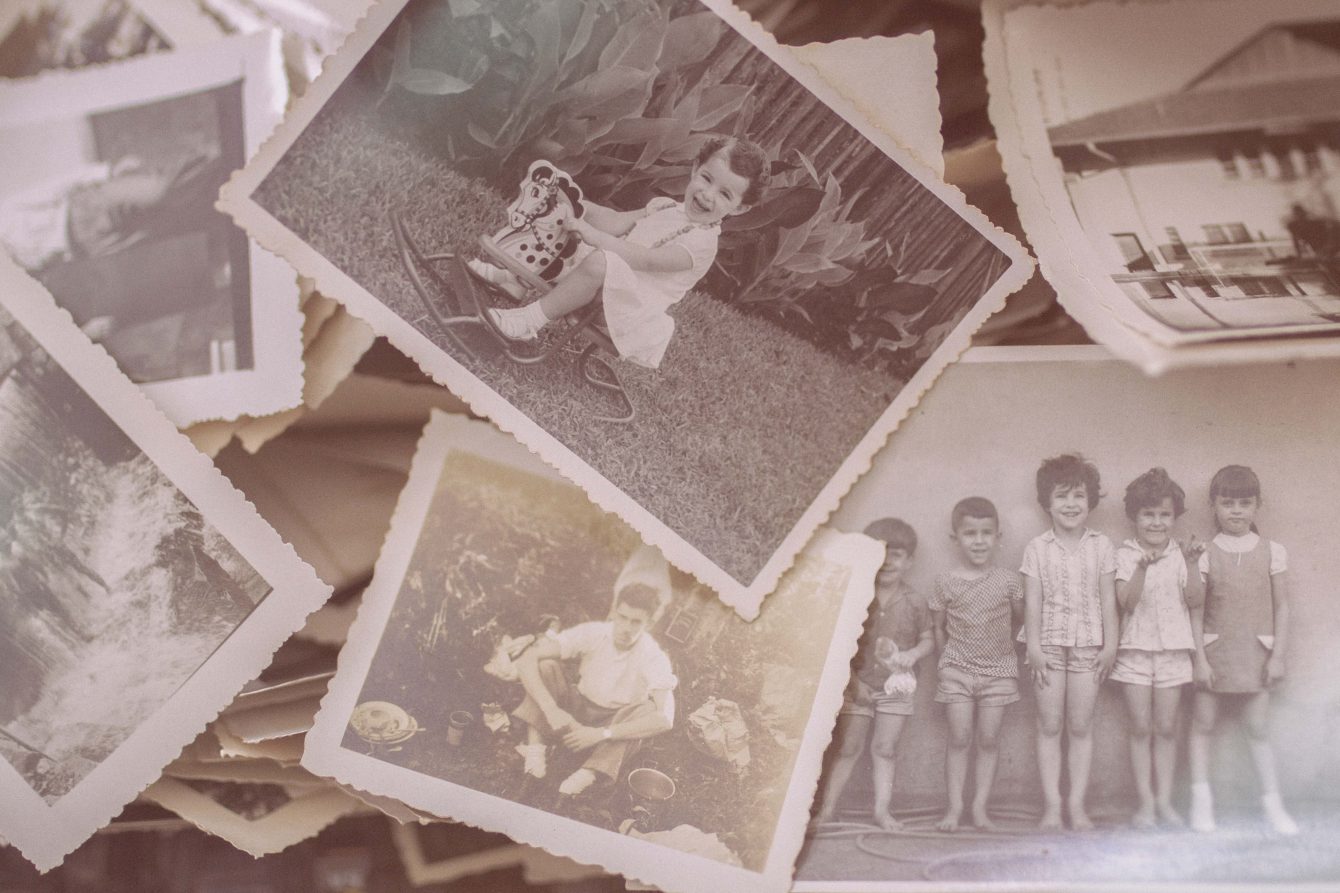
We all have packs of old photos that have been handed down to us from grandparents, uncles, great-grandparents and so on. Very often these are affected by the passage of time, so here are 3 ways to restore old photos!
Many of us have large albums or even boxes full of old black and white photos at home. It’s nice to browse them with loved ones and remember the good old days. But time does not stop and even the photos get old: fade, scratch and tear. Let’s see how to restore old photos in a completely autonomous way. In this article we will see together the 3 steps to restore old photos.
If the pictures they are glued together, have dust or stains, manual restoration is required. There are several ways to do this. First, let’s see how to remove dirt from photos. You can immerse the photo in warm water, then gently wipe off the dirt with a soft cloth or brush and let the photo dry on a flat surface. If a group of photos is glued together, it is necessary immerse them in distilled water for half an hour. Then, separate them by hand or with a spatula. Spread the photos on a towel face up and let them dry.
If the images are torn, a acid-free adhesive tape. Just cut out a small piece of masking tape and stick it on the back of the photo to fix it. Acid-free paper and glue can also work similarly. Now that you’ve fixed your photo manually, let’s continue our journey into ways to restore damaged photos.
If your photos are clean and no manual restoration is needed, they are still there scratches, torn edges and blurs? Then it’s time for a digital restoration. First, you need to scan the images. There are two ways to do this: use one flatbed scanner or just take a picture with a camera or phone. Keep in mind that you need a good quality image, so that you can enlarge it later and work more accurately. Better to use the tripod at this stage.
Now that you have a digital version of your photo, you just need it the right software and some time to devote to it. For example, we suggest PhotoGlory, a photo restoration software with a long history behind it. It is quite a program easy to use and packed with AI-based tools.
Launch the software and open the scanned image. If the photo is slightly damaged, use the “Restore old photo“. Just press the button and the software will automatically correct the defects. You can crop the torn edges using the Crop tool on the Retouch tab. Just choose the free aspect ratio, adjust the grid and trim the damaged edges.
If there are still some imperfections, go to the Retouch tab and use the “Correction brush“Or the tool”Clone stamp“, Depending on the size of the spot to be corrected. Now you can restore the colors in the grayscale photo. There are two ways to do this: by applying automatic color correction or manually. By choosing the first option, you can color the image with a single mouse click. If you still want to make changes, choose manual color correction and change the colors to your liking.
If you are a photo editing professional, you will probably want to use much more complicated software, such as Photoshop (PS). This program is packed with powerful tools, but it takes time to learn how to use them all to your advantage. Let’s see what are the steps to take to restore ancient photos in PS.
First, open your image. Now you need to create a duplicate: make a copy of the photo and save it or create a duplicate layer. This way the original image will remain intact and safe in case of errors. Go to the taskbar, select Layer and choose Duplicate Layer. Then trim the torn edges using the tool Cut out.
There are several tools with which damaged areas can be improved. With the tool Healing brush small scratches and imperfections can be corrected. For the bigger ones, there are the tool Clone Stamp and the Patch tool. The easiest way to color a grayscale photo is to use the Curve. Look for the right color by adjusting different types of curves and then paint over the image with the brush. Don’t forget to create a new layer for each color.
Now you know several ways to bring your old photos back to life. It’s time to put your knowledge into practice! Fix your ruined old photos and don’t let the memories fade. That’s all from the photography section, keep following us!
ASUS Republic of Gamers (ROG) has officially launched the ROG Swift OLED PG32UCDM gaming monitor.…
From the eternal waits for the third chapter to the potential flash release for the…
Freshly released, Stellar Blade, the new Korean action game exclusively for PS5, contains many accessories…
Two The Witcher spin-offs canceled by Netflix. Meanwhile, the fourth season of the main series…
The first global map, published in the journal Environmental Research Letter, speaks clearly: drought in…
During this year's WWDC, the Apple team will announce various software innovations from Cupertino, with…


