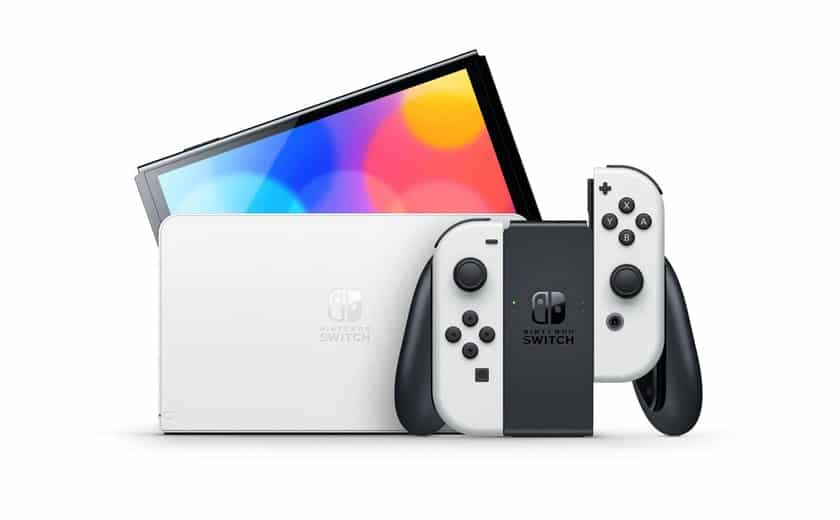
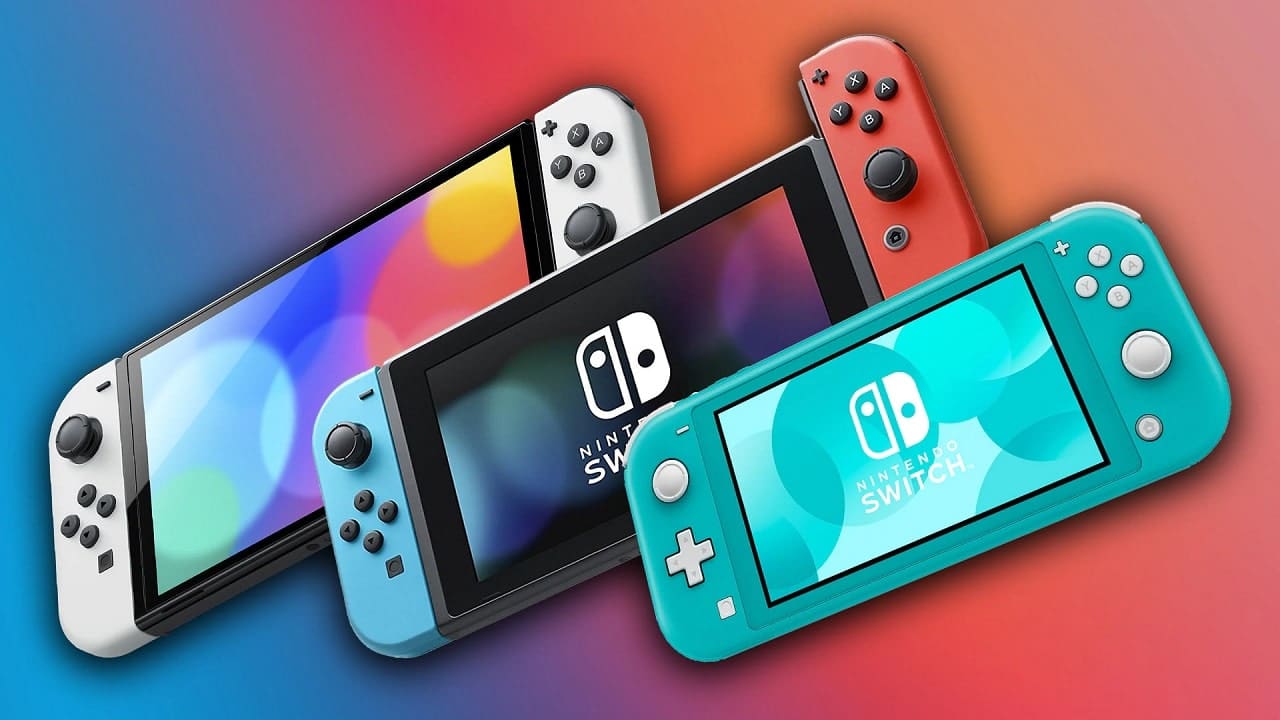
You are going to buy one Nintendo Switch OLED but you don’t know how to transfer all those valuable bailouts accumulated on the basic or the Lite version? Do not worry, you can pass the data and also the screenshot of your adventures with Mario and Link without problems. Indeed, there are multiple methods to do it and with our step by step guide you can’t go wrong.
How to transfer data and saves to your Nintendo Switch OLED
Passing data from one console to another becomes simple in the cloud age we live in: if once Nintendo cartridges were tied to only one console, today you can transfer saves, screenshots and recordings quite simply. Let’s start with how to transfer the saves and user profiles, distinguishing in two methods: for whom it is subscribed to Nintendo Switch Online and for those who are not.
Transfer saves to OLED model with Nintendo Switch Online
The first method requires a subscription to Nintendo Switch Online, a subscription service that enhances your gaming experience in many ways. In fact you can have fun playing online with friends, catch up on old NES and Super Nintendo games as well as get exclusive rewards and extra content on the smartphone app. But what interests us above all is the possibility of saving data in the cloud.
When you sign up for the service, your games start saving to the Nintendo cloud as well. However, you can check from your console which game data to save by selecting:
- Settings
- Data management
- Save your data to the cloud
On your new Nintendo Switch (perhaps in OLED version) you simply need to log into your Nintendo account. The first time you turn it on, all you have to do is enter your account credentials when you turn it on for the first time. If you haven’t done so right away, just select “Link Nintendo Account”From the homepage.

Once this is done, you can re-download your games from Nintendo eShop by clicking on the profile icon at the top right and then selecting “Re-download“. When they are downloaded, go back to “Data management”As explained above for select each save that you want to download to the new console. You can now play on both consoles while keeping the same saves. Just go to:
- Settings
- Data management
- Save your data to the cloud
- Settings
- Now select Automatic download of saves
If, on the other hand, you want to give your old Switch as a gift, be sure to log out before passing it on to someone so as not to ruin your saves.
However, we point out that some games have different procedures for synchronizing between consoles. For instance Animal Crossing: New Horizons guides you on a dedicated path to switch to another console. Other games don’t sync cloud data like Pokémon Sword and Shield. In these cases you can use the second method.
Data Transfer Without Nintendo Switch Online
Switching without Nintendo Switch Online is a little more complex and requires more steps. But most of all you do not have to log into your account on the console to which you want to transfer data until the right moment in the process. In case you have already done so, this method does not work and you can only use the cloud link of the Nintendo service.
Now connect both consoles to the WiFi network and then perform these steps on both consoles:
- Go up System Settings from the home screen
- Select Users from the menu on the left
- Select Transfer your user data and savei
- Now click on Next
- On the old Switch, you choose Console source
- On the new one, select Console target
At this point on the new console you should be able to log in with your old account. Now that you have access, you can click Continues. The process will take a few minutes to transfer files from one device to another. At this point you will have your files but not the games, which you still have to download from Nintendo eShop.
This process transfers the saves, which will no longer be available on the old console. If you have several accounts registered to different profiles on the Switch, you need to repeat this step several times.

Register your new Switch as a Primary
Now that you’ve gone through your files, you can register your new Switch as the primary console. This allows you to play even if offline and let other profiles try your games as well on that console. Several accounts can use the same Switch as their primary but each account can only register one Switch.
To make your new Switch (with its OLED screen) your main console, you need to:
- Enter the‘eShop from your old console
- Select yours profile from the icon at the top right
- On the right side, scroll to what you find Main console
- Select Disassocia
Now just open the eShop from the new console for it to be registered as the main one.
How to transfer also saves and recordings
If you want to pass saved screenshots and gameplay, you need a memory card MicroSD. You may have already purchased it, as the original Switch version only has 32GB. But in any case, you cannot pass the saved media otherwise.
Once the MicroSD has been inserted into the console where there are images and videos, you must:
- Going up System Settings from home
- To select Data management
- Choose Manage saves / screenshots and videos
- Select Manage Screenshots and Videos
- Transfer the data to the MicroSD
Now you can simply insert the MicroSD into the new Switch. Although we recommend that you pass them on your PC, you must be more free to decide where to store them (in the cloud, on a hard disk).
How to format your old Switch
If, once the data has been transferred, you want to give your console to someone else, deleting all the information present, you must:
- To select System Settings from home
- Choose System
- Scroll to Formatting options (if you have entered a PIN on the console, you will be prompted)
- Choose Factory Default Settings
- Click on Continues and then Start
This way you should have made the switch to your new Nintendo Switch OLED without any problems. And you can start playing on the new console screen.


Leave a Reply
View Comments