
To fly.
It is the dream of many.
And of course we’re not talking about getting on a plane and reaching the holiday destination.
Flying in the sense of hovering in the air and moving without constraints and boundaries, observing what surrounds us and enjoying what has always been considered one of the most exciting experiences of our life.
Someone decides to experience it by jumping with a parachute, others using an intermediary: the drone.
Not just any drone but an FPV drone, i.e. with a first-person view. Those that are accompanied by a viewer that looks a lot like those for virtual reality but which in reality is nothing more than a screen positioned in front of your eyes. A little as if you were in a dark room, alone, with the image projected in front of you.
The new belongs to this category DJI Open, the latest FPV drone from the Chinese giant.
DJI Avata’s review
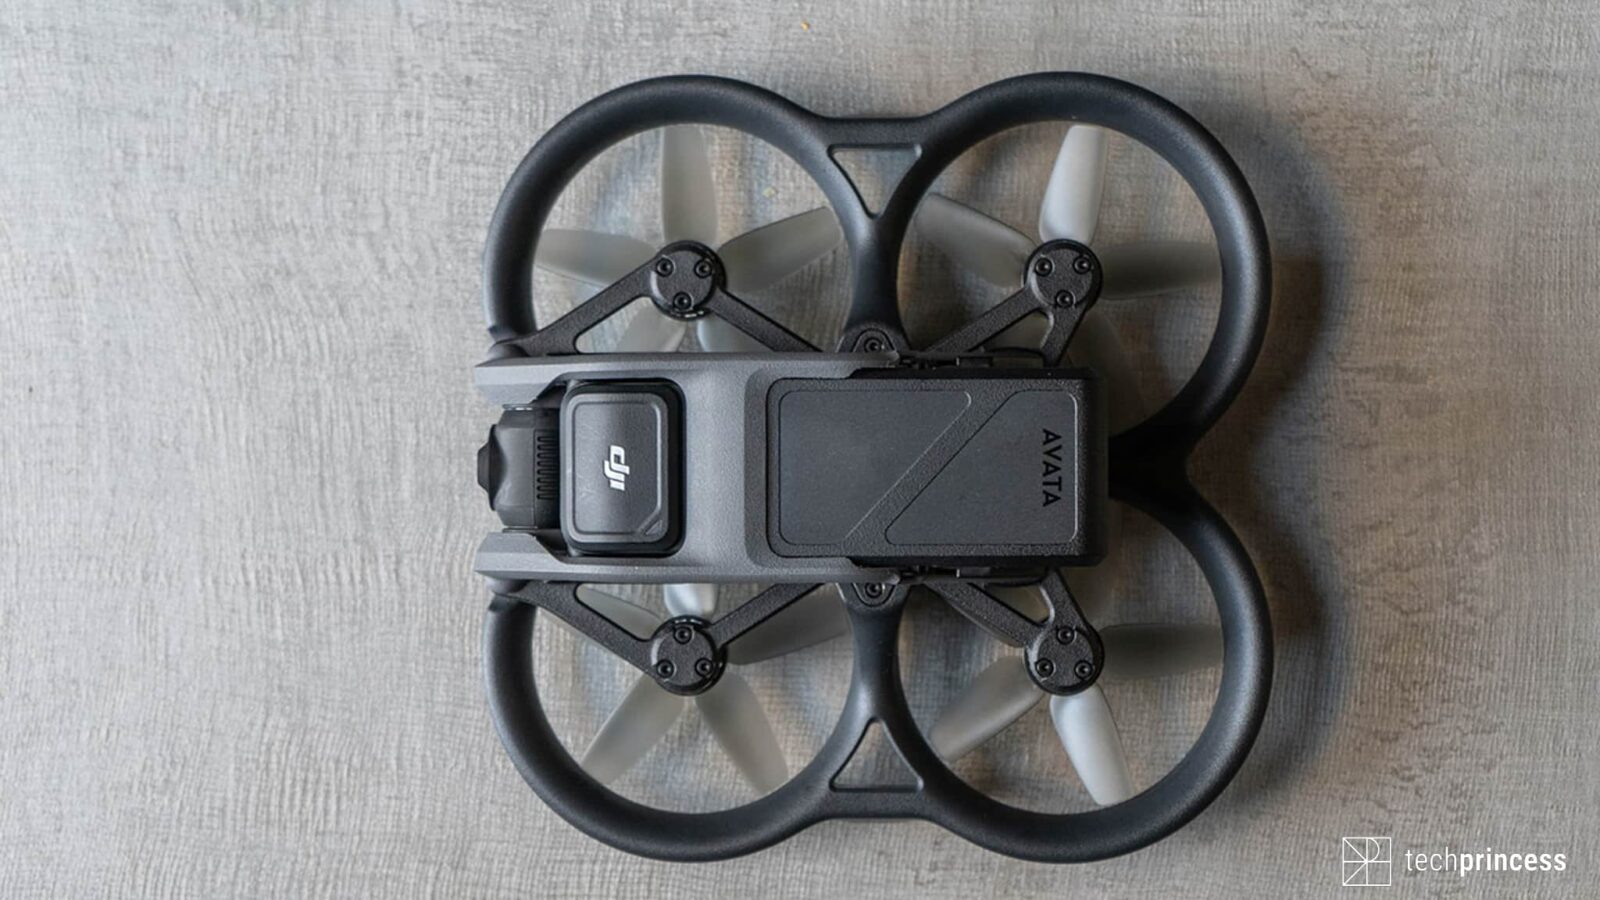
The first time we saw DJI Avata we were quite surprised: the dimensions are extremely small (180 × 180 × 80 mm) and the weight is only 410 grams, much less than its predecessor, DJI FPV, which weighs 795 grams.
Next to the two main accessories of the Pro-View Combo version, namely DJI Goggles 2 and DJI Motion Controller, this drone seems even more compact.
But don’t be fooled by appearances: first of all Avata has a lot to offer and, secondly, it exceeds 250 grams, which means that you need a license to drive it. We also remind you that first-person view flight is allowed only in the presence of an observer therefore to be able to use it you will need to be in the company of another person watching the aircraft.
That said, let’s dive right into this DJI Avata review.
Lightweight, durable and ready for anything
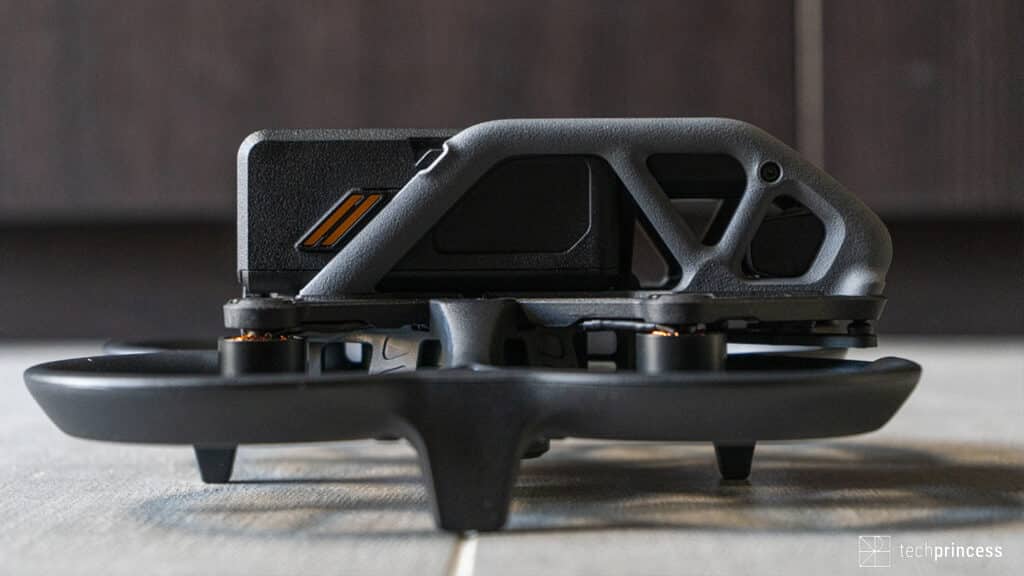
As anticipated, we are dealing with a rather light drone but no, this does not imply fragility. The build quality of DJI Avata is excellent; once picked up it gives back a feeling of solidity and resistance, also thanks to the integrated para-propellers that help resist even small collisions.
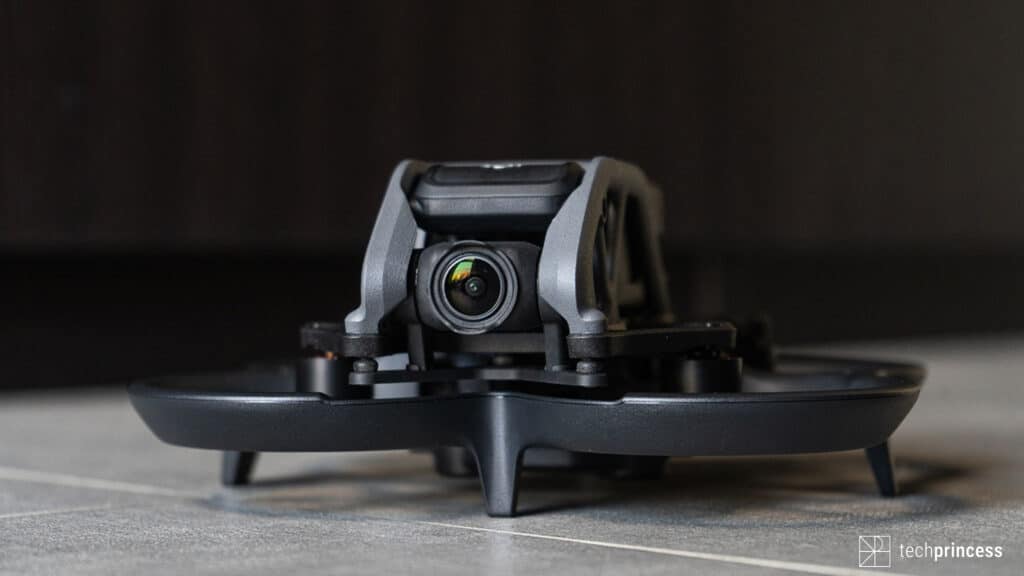
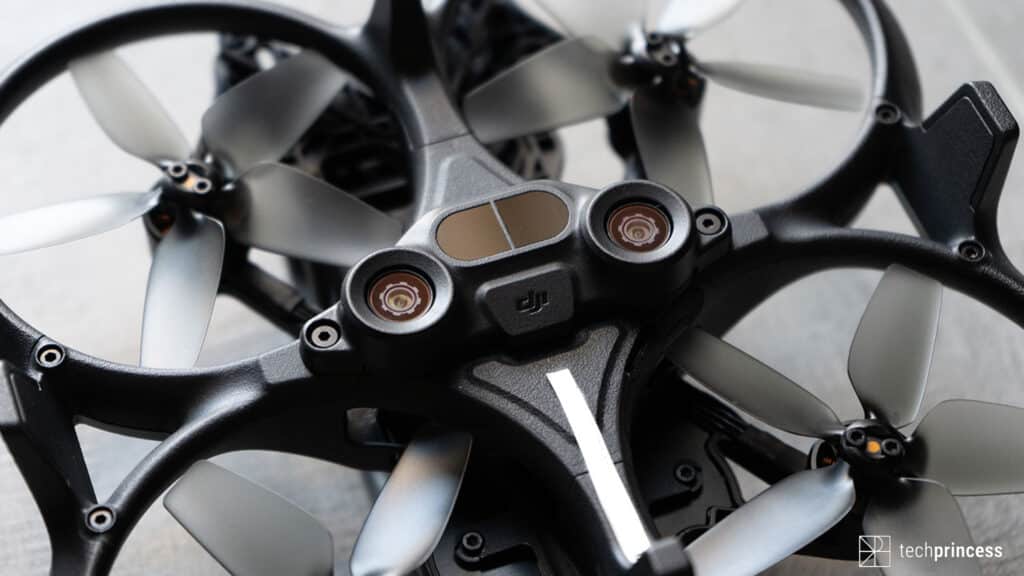
On the front we find the 1 / 1.7-inch 48 megapixel CMOS sensor with aperture F / 2.8 and a viewing angle of 155 °, mounted on a gimbal that allows adjust the camera angle, going from -80 ° to + 65 °. On the back instead we find the battery, which guarantees up to 18 minutes of flight, while on the lower part we have the vision system with two cameras which, together with the infrared detection system, allow the drone to maintain its position, park more precisely, fly indoors (or in places where satellite navigation is not available ) and identify areas unsuitable for landing, such as bodies of water.
Security is also entrusted to a series of software functions: Emergency brake and stationary flightstops the drone and holds it still in one place, Failsafe Return to Home brings it back to the starting point by pressing a button or in case of signal loss and the Turtle mode straightens it after a flip.
We also have a geoencing system, the DJI GEO 2.0, which warns pilots of surrounding airspace restrictions, potential hazards and automatically prevents drones from flying near high-risk locations such as airports.
DJI Avata also uses the AirSense ADS-B receiving system to alert users when airplanes or helicopters are nearby and broadcasts DJI’s AeroScope signal to help authorities monitor flying drones in sensitive locations.
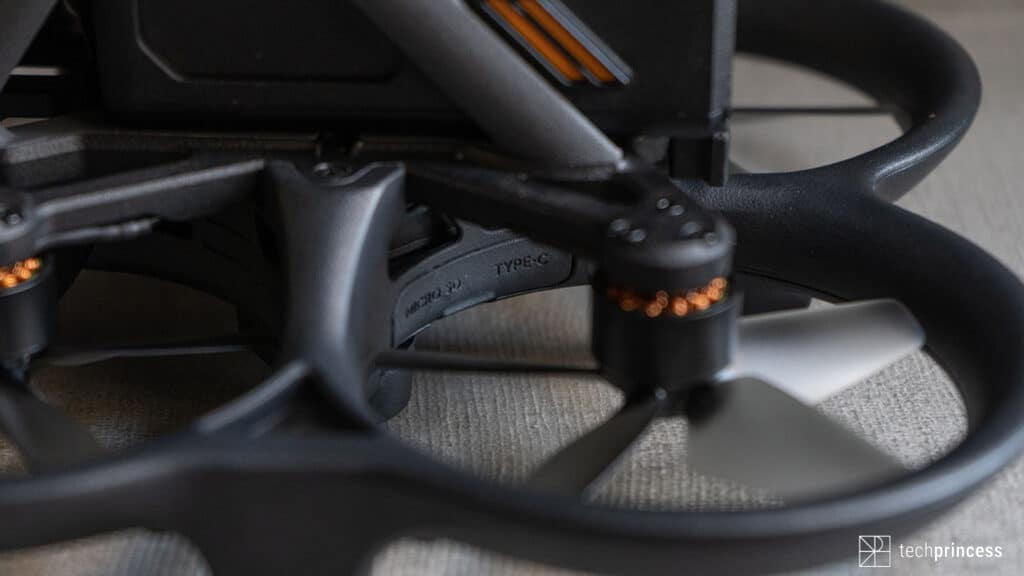
Instead, we were puzzled by the slot for the SD card and the door for the USB-C connector. They are in fact located in a point between the propellers and the central body which is rather inconvenient to reach. In a couple of cases we gave up and removed the prop altogether to be able to thread a cable.
DJI Avata review: how do I fly it?
The new Chinese aircraft comes along with two new accessories, the DJI Goggles 2 viewer and the DJI Motion Controller, guiding the drone with hand movements.
But know that they are not the only possible options. You can also pair Avata DJI FPV Remote Controller 2 and DJI FPV Goggles V2.
We have had the opportunity to use it with the first ones and the user experience has been wonderful.
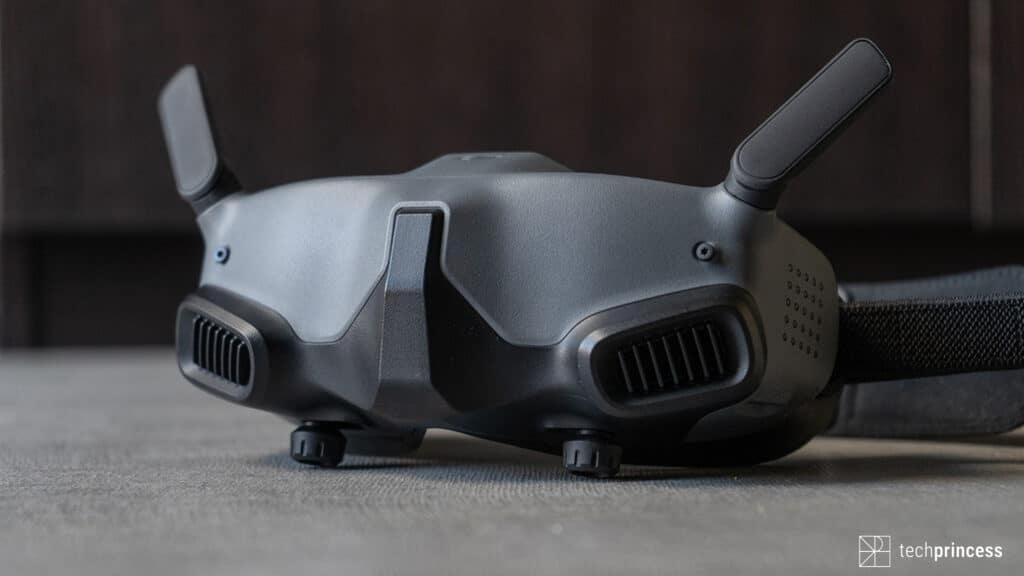
The new viewer is small and light, with a display micro OLED which allows you to see in real time what the drone sees.
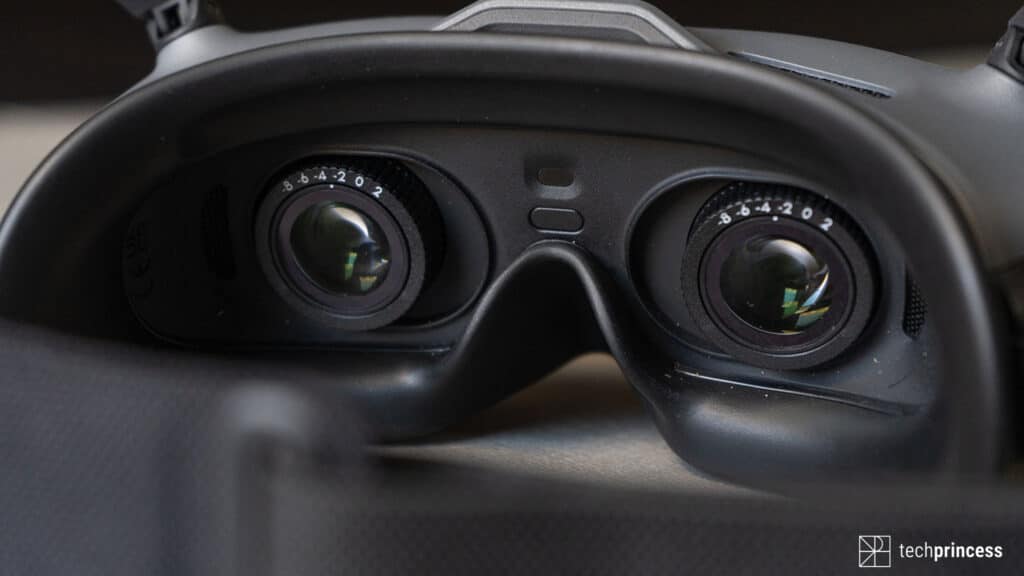
On the bottom we find the connector for charging, the USB-C port and two rings for diopter adjustmentso it can also be used by those who usually wear glasses, while on the top we find the antennas for connecting to Avata.
The upper part houses two antennas while internally there are the lenses, the pairing button and the proximity sensor, which allows the viewer to understand when you wear it and when you remove it, so it can activate and deactivate the screen accordingly.
We conclude the aesthetic overview with the two sides: on the left we have the LEDs, the slot for the microSD and the 3.5 mm jack for audio while on the right DJI has positioned a touch panel with which you can control the camera settings and enter the menu.
As anticipated, the connection to DJI Avata occurs practically with the press of a button. The two devices use the tramissione DJI O3+which guarantees low latency, a declared transmission distance of over 10 km, dual frequency with automatic selection, a high bitrate of 50 Mb / s and a series of state-of-the-art anti-interference systems.
All this allows for receive the video feed in real timefeeds on which they are superimposed useful information such as the colored bars to indicate the distance to any obstacles, the remaining flight time, the space available on the microSD, the battery level, the flight telemetry and much more. In short, the useful data are all there, in front of your eyes.
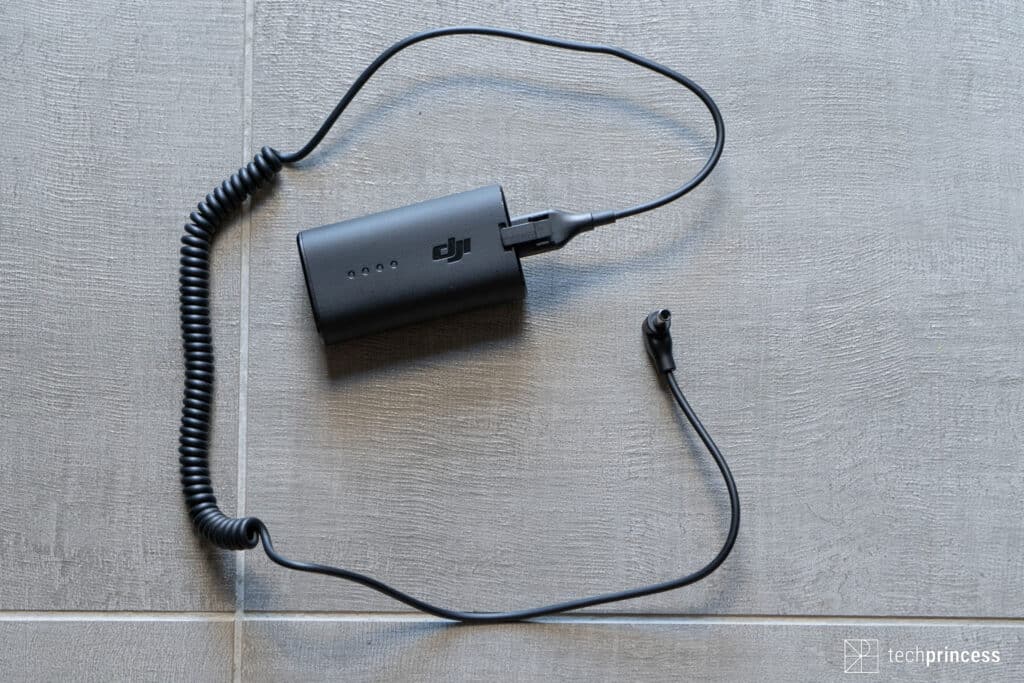
The somewhat unusual aspect of the DJI Goggles 2 is that they don’t have their own internal battery. Yes, you got it right. In fact, the viewer must be connected, with the appropriate cable, to the proprietary 1,800 mAh power bank, which guarantees about an hour and a half of autonomy. Once discharged, you will need to recharge this external battery using a regular USB-C cable.
Uncomfortable? Actually no, also because during use you are on average still, it is only your hand that moves.
The only real flaw we found with the Goggles 2 concerns the side soft touch panel. Basically it is comfortable, with a small raised point in the center to help you orient yourself better. You have to get used to it a bit to be able to use it effectively but, after a few days, you will not have great difficulties.
The problem is positioning. The touch-sensitive surface is on the right and we are right-handed, so with the right we hold the controller. We then found ourselves having to use the left hand or, more simply, having to stop, switch the controller to the left hand, and use the right to enter the menu or delete a notification.
 DJI Motion Controller
To fly the drone we used the DJI Motion Controller, which in some ways reminds a little of the old joysticks. Also in this connection, the connection requires only the press of a key, the one on and off that you find on the right. The other buttons, combined with the movements of the wrist, allow you to maneuver the drone while the USB-C port is essential for charging. But know that on average the autonomy is five hours, more than enough to cover many flights.
The obvious question now is: So am I driving blindly?
In a certain way, yes.
Or better, actually the headset gives you a full view of what the drone is doing. However, you will not see the buttons on the Motion Controller, which means you will have to remember them. At first it might seem like an impossible undertaking but the control system is designed to be intuitive and allow you to drive DJI Avata without difficulty. In the beginning, you know, it will be a little more difficult; you will have to familiarize yourself with the commands and understand how to use them but the learning phase, thanks to the excellent tutorial, is very fast and with a little practice you will also be able to try your hand at slightly more complex operations. Always in safety.
The other natural question is: will I be nauseous? Don’t worry, niente motion sickness. You will therefore not have that feeling of nausea and discomfort typical of virtual reality headsets, even if you are particularly sensitive.
The flight mode There are 3 usable:
- Normal mode (N): we can consider it the basic one, similar to what is offered by other drones and designed to guarantee the highest possible level of safety;
- Manual mode (M): it only works with the DJI FPV Remote Controller 2, so we haven’t had a chance to try it. However, be aware that it allows complete and unlimited control and is therefore dedicated to expert users who want to customize the parameters while giving up a series of safety systems;
- Sport Mode (S): is the hybrid mode, or intermediate if you prefer. It offers some of the dynamic motion capabilities that come with the M mode along with some of the key safety features of the N mode.
Finally, we have two applications to accompany you.
The first is DJI Fly, with which you carry out the first activation, update the firmware, check the footage and verify the local information relating to the flight area; in addition you can view in real time what the operator is viewing but to do so you will have to connect the phone to the viewer …