
Those who are passionate about travel know that one of the most popular atmospheric phenomena in recent years is the Aurora Borealis, beautiful yes, but how to photograph the Aurora Borealis? In this guide we explain it with 5 simple tips
In recent years, one of the atmospheric phenomena most photographed by travelers is the Aurora Borealis and for this very reason there are so many trips organized to the coldest destinations that offer precisely this type of phenomenon. But a question arises spontaneously: How to photograph the Aurora Borealis? The photographs we see are breathtaking, with bright and brilliant colors, so much so that we think that photographing the Northern Lights is difficult. Wrong! Photographing the Northern Lights is actually simple if you follow a few precautionsexactly like our guide on How to photograph the Moon.
In this very simple guide in 5 tips, Let’s see what the photographic tricks and more are for photographing the Aurora Borealis and being satisfied with the result.
How to photograph the Northern Lights: the simple guide in 5 tips
Before delving into it, it is good to have an idea of the ideal destinations to see the Aurora Borealis and above all the periods of the year in which it is visible.
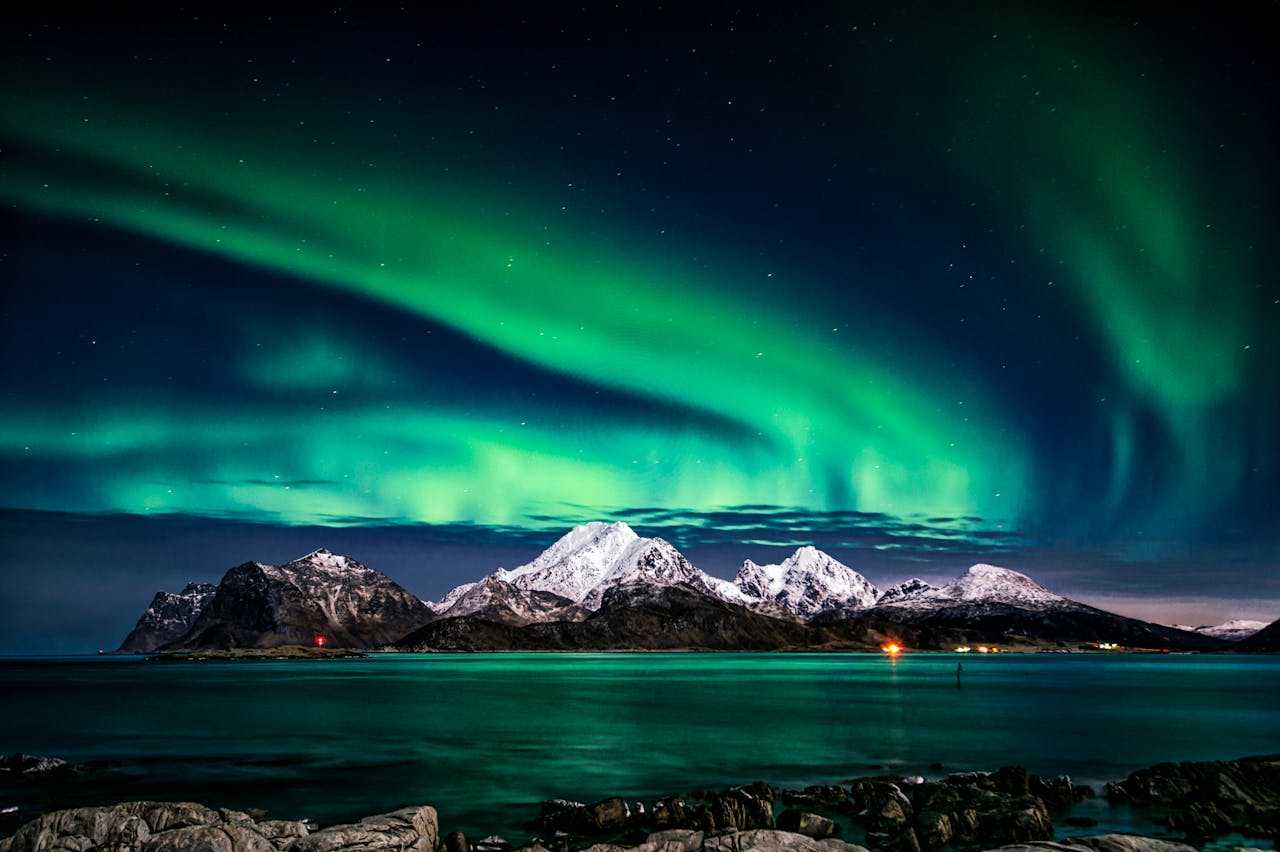
The best areas in which to photograph the Aurora Borealis are those near the poles, therefore Alaska, Northern Canada, Southern Greenland, Iceland, Lapland, the Far North of Norway, Sweden and Finland, Northern Russia, Svalbard Islands.
As for the good rule, the Aurora Borealis is visible from September to March, with the exception of Greenland, where it is possible to see it as early as mid-August and until mid-April. In Lapland the best periods are September/October and March when solar activity is usually greater and the probability of having clear skies is greater.
The weather | How to photograph the Northern Lights: the simple guide in 5 tips
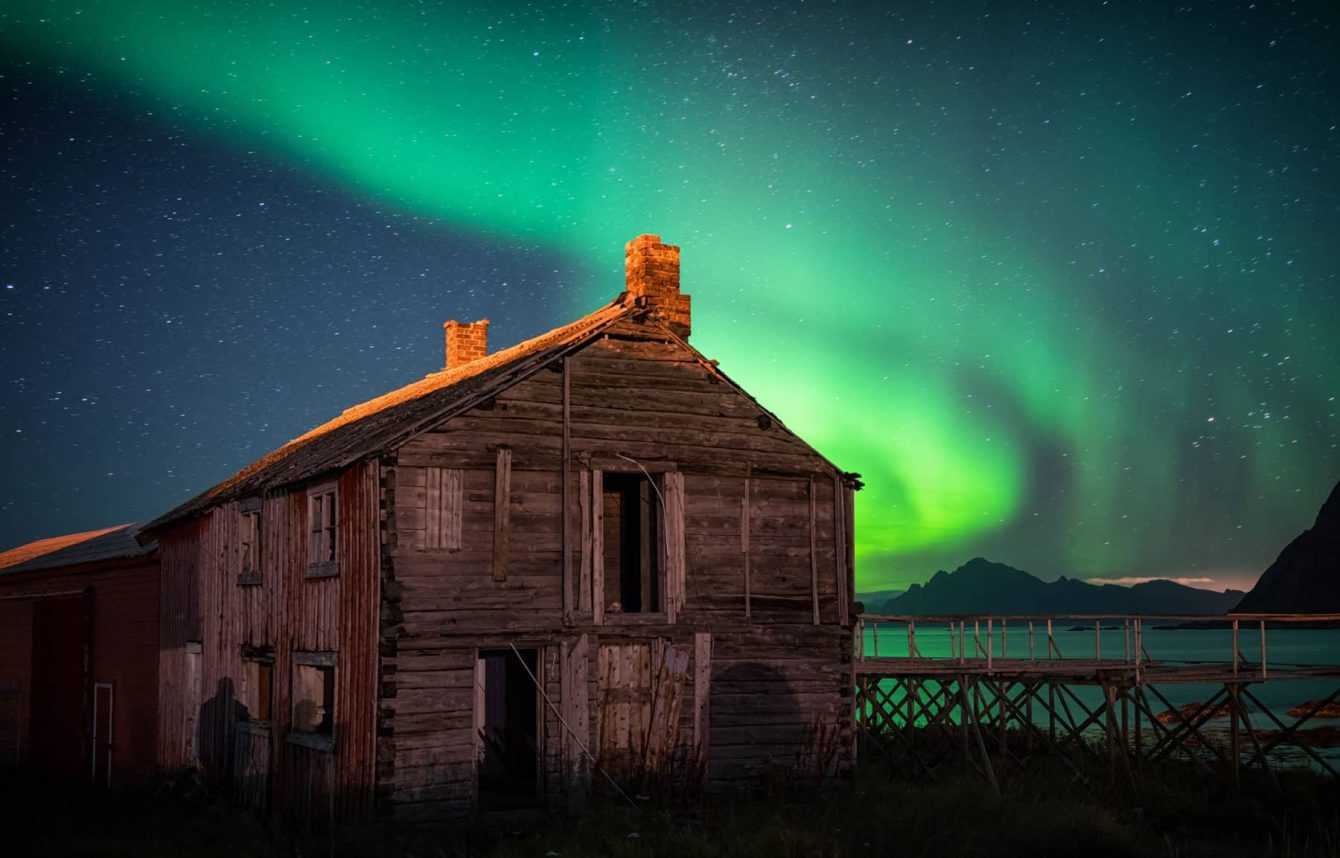
Once we have decided on the destination and the period, when we find ourselves in our place waiting for the best moments in which to see this phenomenon, the first thing to do is check the weather. The ideal condition is a cloudless, clear sky and, better yet, no moon, to have as little light as possible. The time it could occur is generally between 8pm and 1am, but there are no rules, it is a rather unpredictable phenomenon. For this reason, when you are waiting for the Aurora, it is advisable to prepare your photographic equipment and keep your eyes to the sky so as not to miss even a moment.
To confirm national weather conditions, there are weather apps for the places we are in, for example the Icelandic Weather Service for those in Iceland and the Norwegian Weather Service for those in Norway. These services also help give us an approximate time it might occur as well as the most precise location.
Replacement Batteries | How to photograph the Northern Lights: the simple guide in 5 tips
Once we have a rough idea of the weather, location and time and can prepare our camera backpack, we need to know how to fill it. And here, we must remember how cold it is under the sky waiting for the Aurora Borealis and that not only we are affected by this cold, but also our equipment. For this reason we must always carry spare batteries because at temperatures as low as -20° the batteries run down more quickly, especially if we have to wait for hours. And it is best to always keep these batteries covered, therefore in our sheltered backpack or in our pockets.
When we finish photographing the Aurora, we must remember the cold our camera experienced and the risk of condensation, which can result from temperature changes. For this reason it is necessary to place the camera in an airtight plastic bag and keep it in our backpack for several hours to allow the camera to acclimatise without coming into contact with increases in temperature and therefore humidity.
The easel | How to photograph the Northern Lights: the simple guide in 5 tips
A fundamental element to attach to our photography backpack is the tripod: to photograph the Northern Lights it is necessary and in the next few lines we will also discover why. We know that carrying heavy equipment with you is not ideal for a road trip hunting for aurora, but we can find small but solid tripods or tripods that we can attach to our backpack without them taking up too much space.
The goal | How to photograph the Northern Lights: the simple guide in 5 tips
Starting from the assumption that to photograph the Northern Lights we bring a camera, reflex or mirrorless, we must choose an appropriate lens. And the best choice is a wide-angle lens, which can cover the greatest portion of the sky and the closer it is to fisheye, the more incredible the results will be and also allow us to play on perspectives and image distortion. Whether it is a Sony, Canon, Nikon or Fujifilm mount lens, the advice is that it is wide angle and bright. Another fundamental precaution is to never detach the lens from the camera body after you have finished shootingprecisely because of the condensation problems that we discussed a few lines above.
Manual settings | How to photograph the Northern Lights: the simple guide in 5 tips
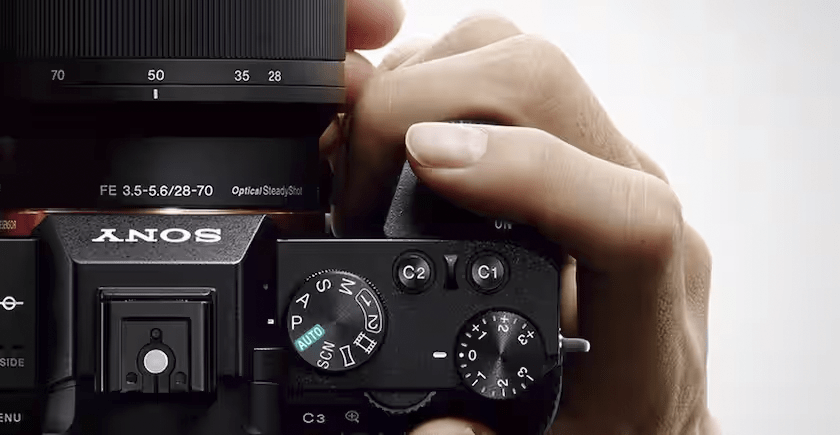
And now we have reached the most fun part, which is preparing the camera waiting for the Aurora Borealis. And we underline “prepare” because for this type of photo it is necessary to shoot manually and then first set the machine in such a way that when the phenomenon occurs, we are ready and do not waste any moments. Below we see which parameters to choose in the manual settings of our camera.
Shooting times
The times of our machine will have to be slow, because we need light to highlight the luminous trail that the Aurora will leave. For this reason, the tripod is necessary, as it prevents any form of blur when shooting. We can establish the times in advance by looking at the sky and our light meter, but we can stay on 20/30 seconds as a reference base, if the Aurora moves slowly. However, if the Aurora moves quickly we have to keep them faster, otherwise we risk only seeing a blurry color in our photo.
Diaphragm
Let’s get back to the fact that we need light and therefore our diaphragm must be open enough and consequently our lens must be bright. However, let’s remember that the more we open it, the more the depth of field is affected and therefore also the sharpness of our Aurora. We are not faced with a portrait photograph that requires a nice bokeh effect with a very open diaphragm, we are still in the landscape contextso we find a compromise that can be on F4, as a parameter.
Iso
As regards the ISO, the advice is to keep them as low as possible, because high ISOs give us more light but also a good amount of “noise” and thick grain in the photo. To photograph the Northern Lights it is best to aim for crisp, clean photographs that can bring out the colors of the Aurora. In a night sky condition it is difficult to lower them to the minimum, so we still have to stay on parameters like 1600, unless there is also the Moon in the sky then we can go down by ISO.
Conclusions
As you have read in this guide, photographing the Aurora Borealis is not difficult, you just need to have the right equipment, such as a reflex or mirrorless camera, a tripod and a bright, wide-angle lens. Furthermore, we must remember that the temperatures are very low and that this can affect not only our slowness, but also on that of our camera, which could experience quite a few slowdowns or freezes due to the cold. And furthermore, we must dedicate the same attention to it that we dedicate to ourselves when we prepare to face the cold.
And have you already taken a trip hunting for the Aurora Borealis? Let us know in the comments and continue to follow techgameworld.com for all the updates on the world of photography.