
If we raise our heads to the sky on a starry night, we see a breathtaking spectacle, beautiful yes, but how do we photograph the stars? In this guide we explain it with 5 simple tips
If we raise our heads to the sky on a starry night, we find ourselves faced with a breathtaking, almost surreal spectacle, which often makes us want to take out our camera and take a photo. But how to photograph the stars? We are faced with a simple procedure which also requires little technical equipment, but it is good to know some fundamental steps to be satisfied with the result. After our guide on how to photograph the Moon and how to photograph the Aurora Borealis, here we are with our guide on how to photograph the stars, in 5 simple tips.
Are you ready to get started?
How to photograph the stars: the guide in 5 simple tips
Photographing the stars does not require particularly expensive or technical equipment, but there are certainly some accessories and practices necessary to proceed with this type of astrophotography. First of all, it is good to know that there are different types of photography in this field, depending on the results we want to obtain.
What we will deal with in this guide will be night astrophotography, with which you can photograph a wide-field night landscape with a starry sky. For this type of photography we do not need a telescope, but only a good wide angle lens as we will discover in this guide.
The weather | How to photograph the stars: the simple guide in 5 tips
The first step is the standard one we have seen also in previous guides for the Northern Lights and the Moon, i.e. check the weather. To photograph the stars in a night landscape, the stars must be visible to the human eye at least and therefore we must ensure that it is a non-cloudy and fog-free evening. In addition to the weather, we can also use specific smartphone apps for astrology enthusiasts, which also allow us to identify some more interesting points, such as the Milky Way. We suggest Stellarium or Sky Tonight, but we can find so many on the app stores of our devices.
The easel | How to photograph the stars: the simple guide in 5 tips
To make the most of our subjects who are very far from us, we need manual settings with long times, which we will then discover during this guide. This means that a tripod is absolutely necessary for photographing the stars. Any easel that we already have or can be purchased by paying attention to its solidity is fine. Having to photograph at night and perhaps on uneven surfaces, it is important that the tripod is stable even on sloping terrain.
The goal | How to photograph the stars: the simple guide in 5 tips
Another fundamental element is the lens and to photograph the stars we need a wide-angle lens, that is, a large lens that can capture the largest possible portion of the landscape. Wide angle lenses are those that range from approximately 22 mm to lower figures, for example a good wide angle is certainly 18 mm, while if we go further down by mm we have a wide angle that approaches the fisheye.
The fisheye is more difficult to handle because It provides a slight image distortion, but for star photography it's actually a great creative effect. As for the diaphragm, it is good that the lens is bright and in the next steps we will also see how to set it.
Manual settings | How to photograph the stars: the simple guide in 5 tips
Once the equipment is ready, we need to prepare our camera, how? By choosing manual mode and deciding before shooting all the settings necessary for a satisfactory shot. Below we see which parameters to choose in the manual settings of our camera.
Shooting times
The times of our machine will have to be long, because this allows us to acquire as much light as possible. But be careful! Very long times obviously capture the circular movement of the earth and therefore we will see our stars leave bright trails. This anyway can be part of a very specific artistic choice, namely that of the Startrail in which the light trails form truly spectacular circular movements. Long shutter speeds therefore require the tripod we talked about in the second point of this guide.
Diaphragm
Let's go back to the fact that we need light and therefore our diaphragm must be open enough and consequently our lens must be bright. However, let's remember that the more we open it, the more the depth of field is affected and therefore also the sharpness of our stars. And while we set the aperture, we can also remove the auto focus and set the manual focus, so as to be able to choose the focus independently.
Iso
As regards the ISO, the advice is to keep them as high as possible to obtain the greatest amount of light, but even in this case, be careful! High ISOs obviously increase the “noise” of the photograph which may not be pleasant in the final shot. In some cases, however, it can be a highly appreciated result, because it is always part of an artistic and tasteful choice. Recommended ISO for photographing the stars is around 3000, obviously doing some tests first, also based on how much our camera is able to “handle” the ISO, so at what ISO number do you start to notice the noise.
Location | How to photograph the stars: the simple guide in 5 tips
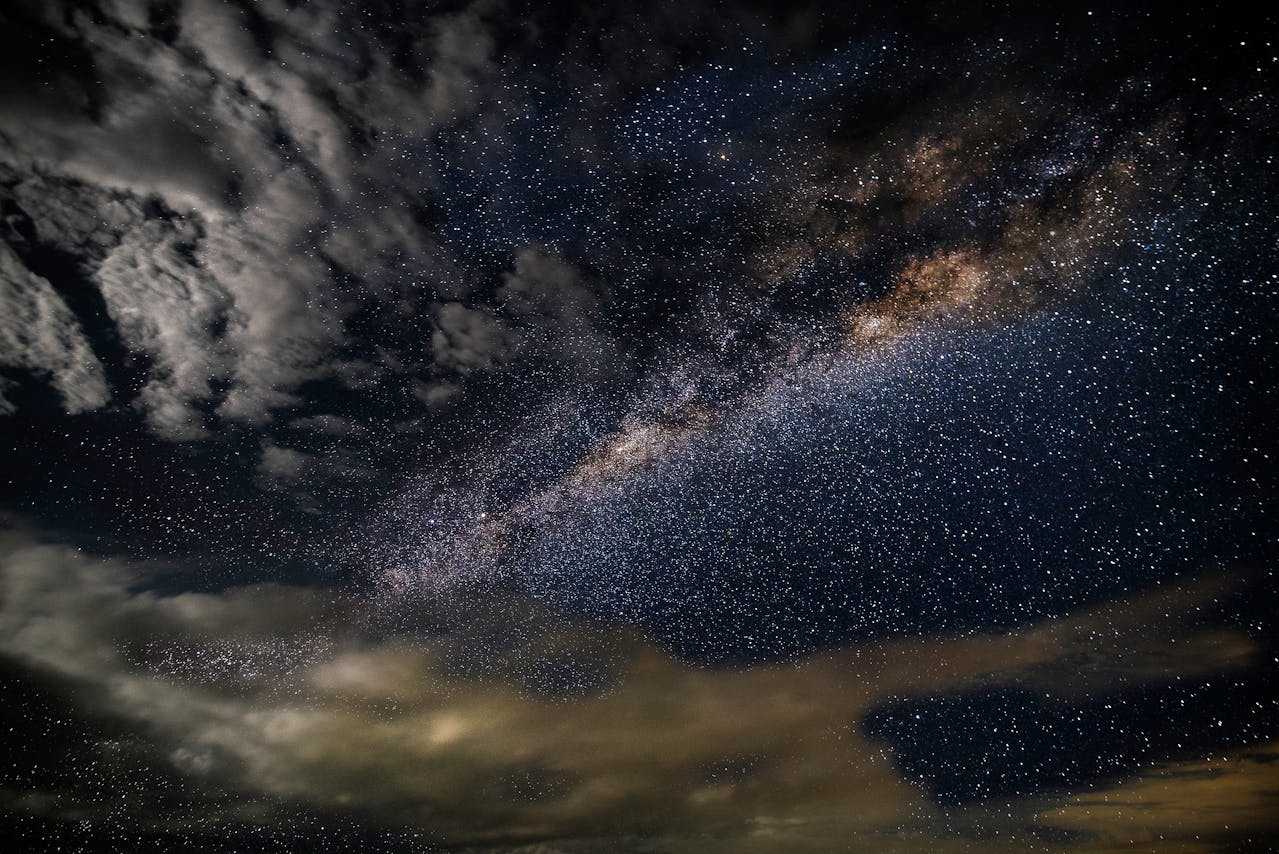
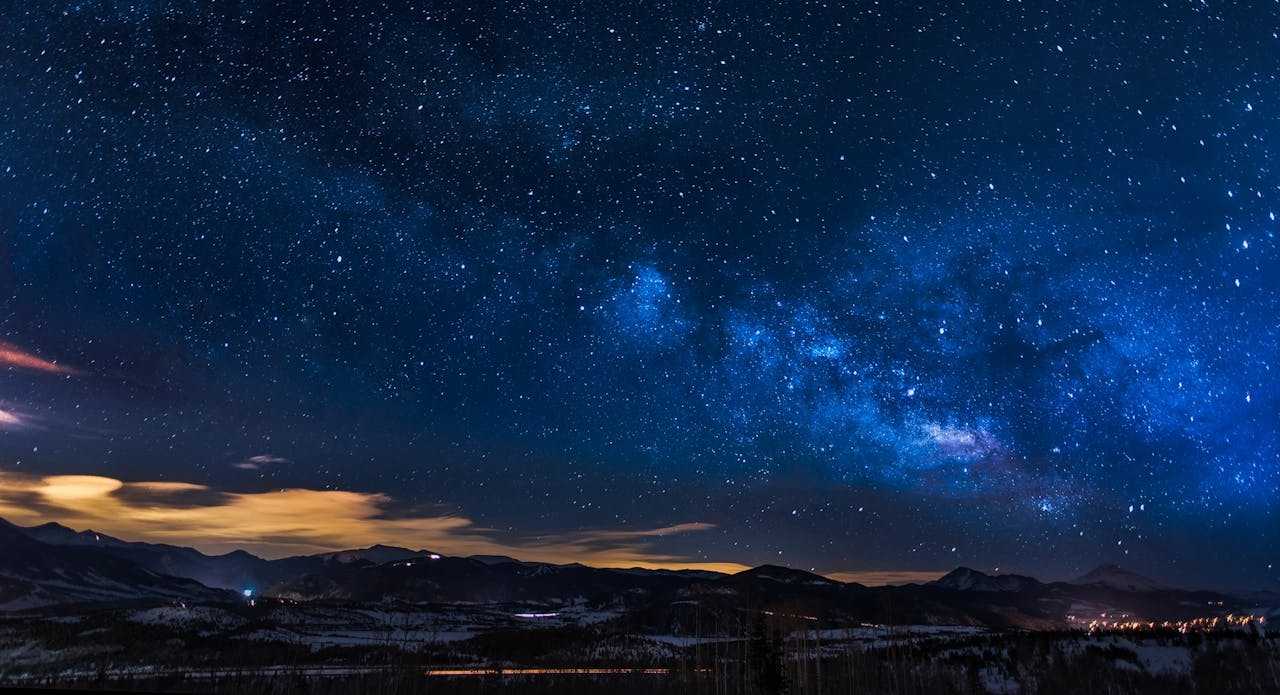
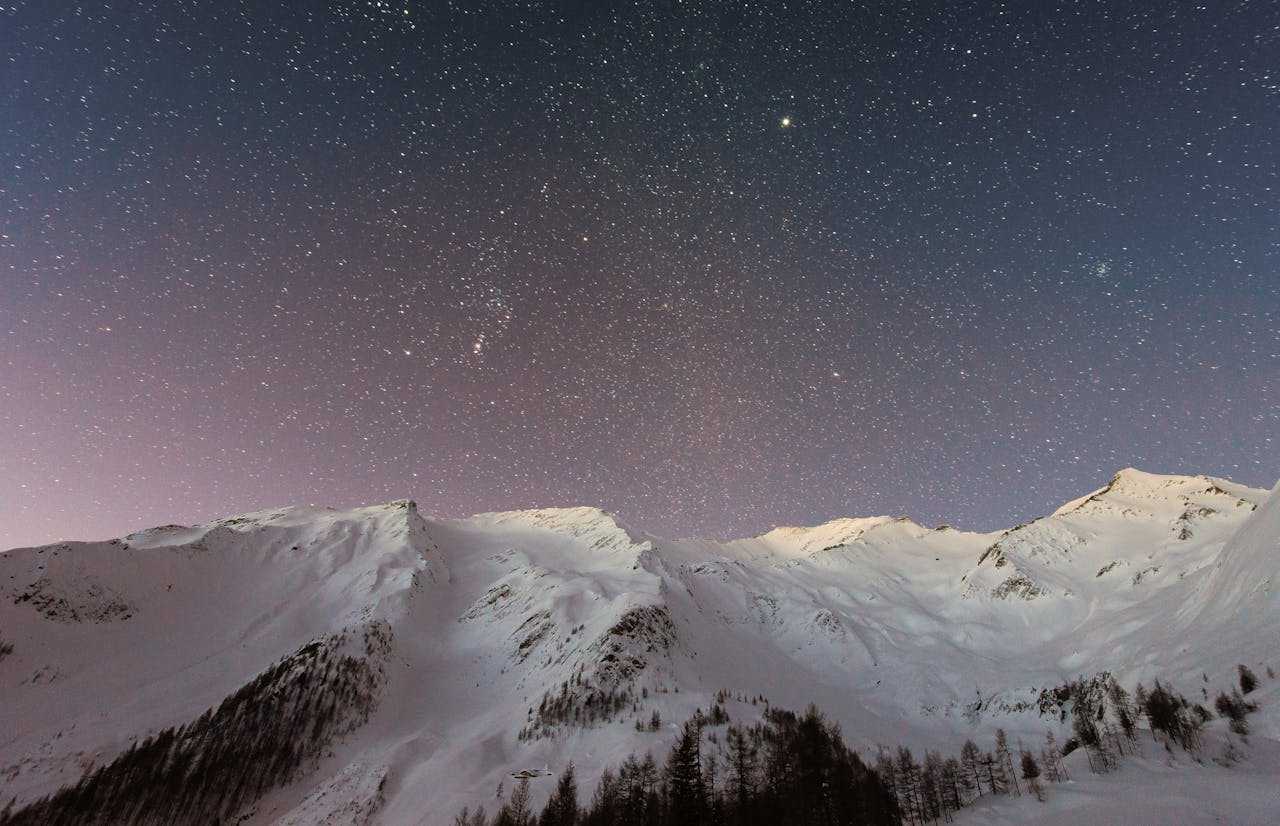
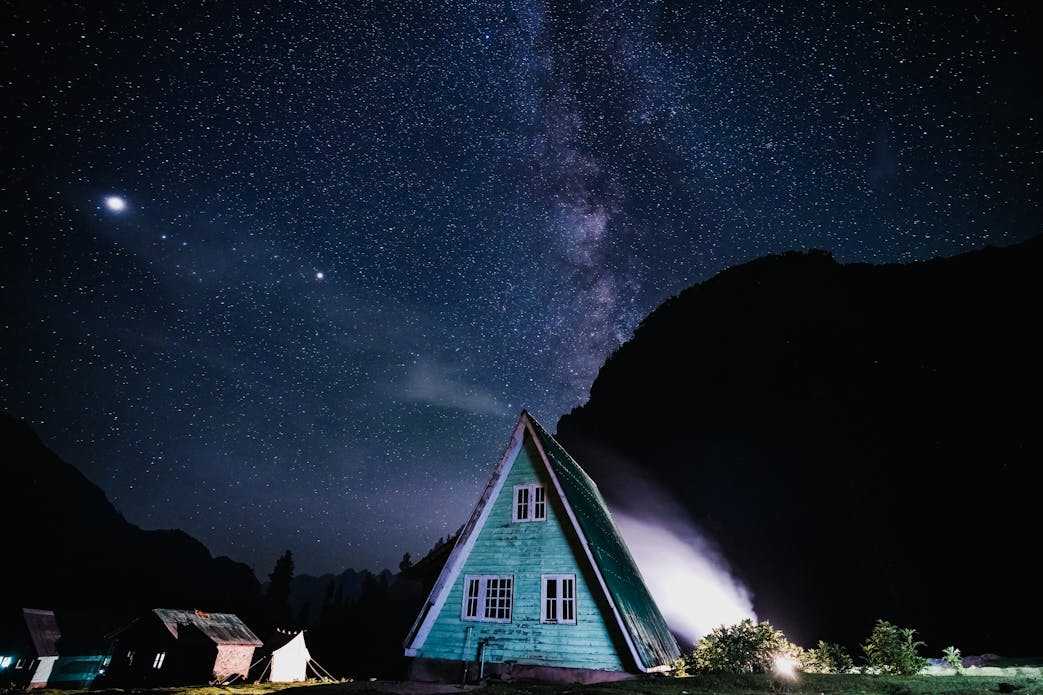
Now that all the technical aspects are ready, we come to the most fun part, namely the choice of location, or the artistic choice. Here we have many possibilities before us, which depend on the type of shot we want to obtain. We may want to photograph the stars in the sky without any outlines and therefore here we need to make sure we find a place with the absence of light pollution and perhaps where the stars can be seen clearly, for example at high altitude. In mountain situations, on the peaks, even without going too high, the sky can be seen clearly if it is a clear night. Another possibility is to photograph a landscape situation that also has the stars as an outline. And here it can be very interesting to look for naturalistic, architectural or panoramic views that offer a good contrast.
Conclusions
As you have read in this guide, photographing the stars is not difficult, you just need to have the right equipment, such as reflex or mirrorless, tripod and a bright, wide-angle lens. What matters is the passion for this type of photography and the desire to search for locations and views that, in addition to being interesting to photograph, give us great satisfaction from an aesthetic and naturalistic point of view. Because at the end of the day, photography remains a story and therefore it is up to us to decide what it wants to tell!
And have you already gone out to photograph the stars? Let us know in the comments and continue to follow techgameworld.com for all the updates on the world of photography.