Do you want to record the screen of your Windows PC while also capturing the audio? Here’s how to do it
There are many reasons why you need to record audio along with what we see on the screen, such as recording a petal-kill in LOL to show off your gaming skills or an online course to review later. Many of you may not know that there is a built-in screen recording tool in Windows called Xbox Game Barcreated to record gameplay with audio on Windows 10.
In addition to Xbox Game Bar, there are also some useful alternatives that can help users capture the Windows 10 screen while also including audio. Screen recorder like RecForth can overcome the limitation of Xbox Game Bar, which cannot record desktop and file explorer. Let’s get to know them more closely!

How to record screen on Windows with the built-in tool
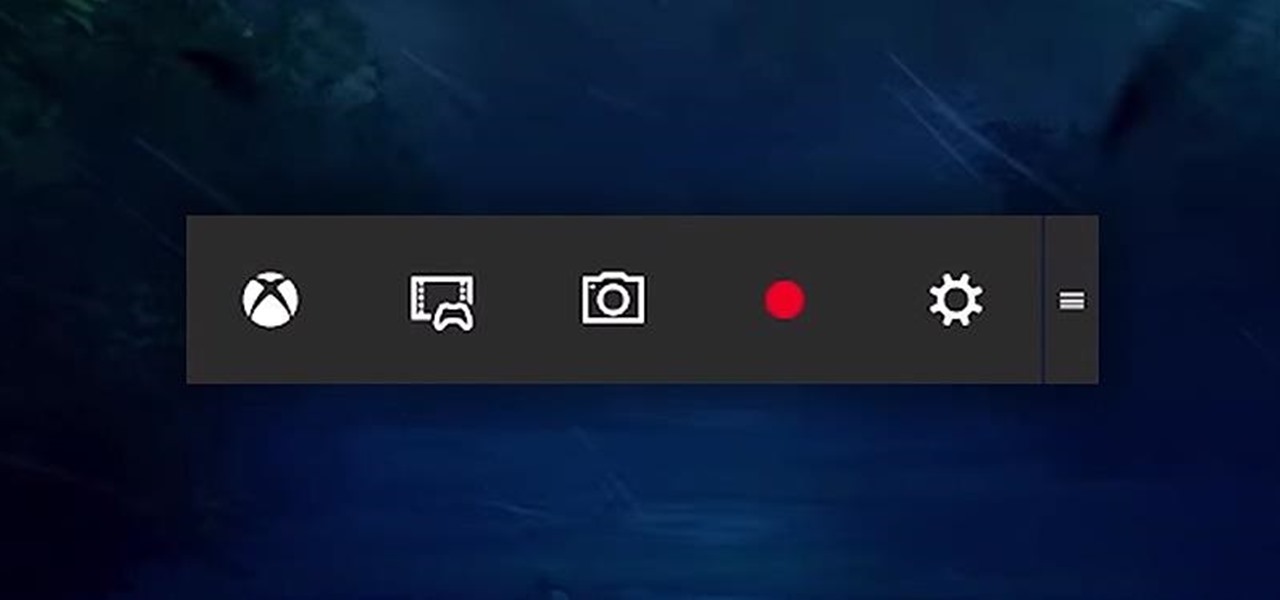
Xbox Game Bar is a game overlay that allows players to capture their game screen. The program works with most computer games and delivers instant access to widgets for capturing and sharing screen, performance monitoring and chat with friends. Unlike traditional methods, it is possible to perform all the actions described above without leaving the game. Features include:
- Multiple, complete filters and audio mixing
- Great experience for screen recording while playing
- No time limits and no watermarks
- Native screen recorder with Windows 10/11
Step 1. Open the Xbox Game Bar
Xbox Game Bar is pre-installed on Windows 10; to activate it is just press “Win + G” on the keyboard. A notification will appear asking if you want to open the Game Bar; you need to make sure that the “Yes, this is a game” option is selected.
At this point, the floating Xbox Game Bar widget will appear; prepare the game window before opening Game Bar.
Step 2. Start capturing the game
After completing the setup, press the shortcut Win + Alt + R or the red Record button to start screen recording. The capture status bar appears at the top right of the screen and clicking the microphone icon on the bar turns audio recording on or off.
There are some widgets that overlook the screen that allow you to adjust the game volume and output or monitor CPU, GPU and memory usage.
Step 3. Finish the screen recording
Press again “Win + Alt + R” to stop recording, or press the Stop button. Screen recordings are now saved in a folder called “Show all captures”.
Tips: If your video card supports Intel Quick Sync H.260, AMD VCE, NVIDIA NVENC or other supported encoders, you can activate and use them with Xbox Game Bar on our Windows 10 computer.
How to use RecForth to record Windows 10 screen with audio
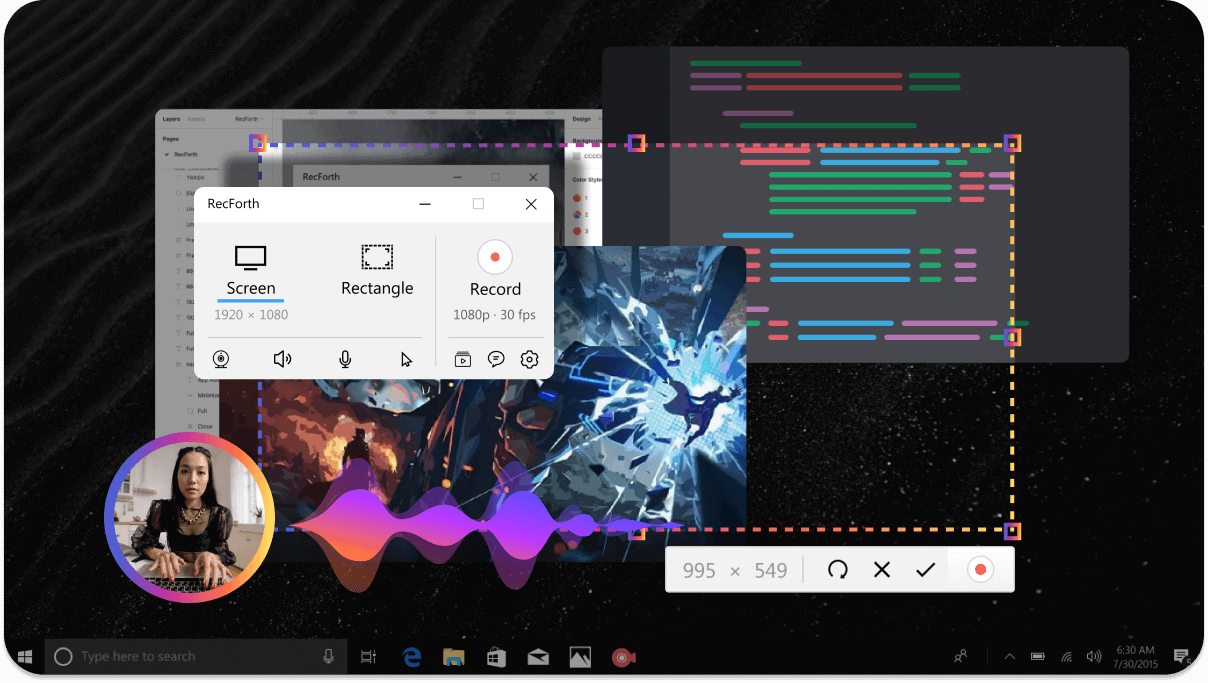
A powerful screen recorder for Windows 10/11 is definitely RecForth. One of the excellent options to customize screen recording beyond all limits. Unlike Xbox Game Bar, RecForth allows you to capture any area of the screen as a screenshot or video file. The main features include:
- The software also captures video from the webcam
- Ideal for high quality game recordings
- Ability to take a screenshot of the screen while recording
- Setting a timer for screen recording
Step 1. Download RecForth for free
RecForth is Microsoft certified software, so you can download it for free from the Microsoft Store. After downloading and installing RecForth, search for it in the start menu and open it.
There are three screen recording modes: full screen, custom area, window. You can choose the recording mode according to your needs.
Step 2. Setting up screen recording
Open the program or window to be recorded and select the area to be recorded. You can choose to record the screen or webcam along with the audio; the only thing to do is to turn on the webcam and the microphone button.
Also, you can click the Settings button on the bottom toolbar to get more advanced settings like Pointer, FPS and Resolution.
Step 3. Start Windows Screen Capture with Audio
When everything is ready, you can click on the red button to start recording. To pause, resume or stop the recording during the recording process, you need to click the corresponding button in the floating panel.
After stopping the recording, the recording file will be saved automatically. All recording files are located in the RecForth folder. It really is that simple.
Conclusion
We have described how to record screen on Windows 10 on both Xbox Game Bar and RecForth Screen Recorder. Xbox Game Bar is the best for the single window recording game on Windows 10, while RecForth Screen Recorder is more suitable if you like record the screen with system sounds, narration, webcam or other customization. That’s all from the hardware section, keep following us!


Leave a Reply
View Comments