

Learn how to change DNS on Mac with this handy guide. Easily change your computer’s DNS servers and improve your internet browsing experience
If you’re looking to improve your Mac browsing experience, one of the quickest and easiest ways to do so is to change your computer’s DNS. This process may seem complex but it is actually very easy. In this guide, I will show you step by step how to change dns on mac.
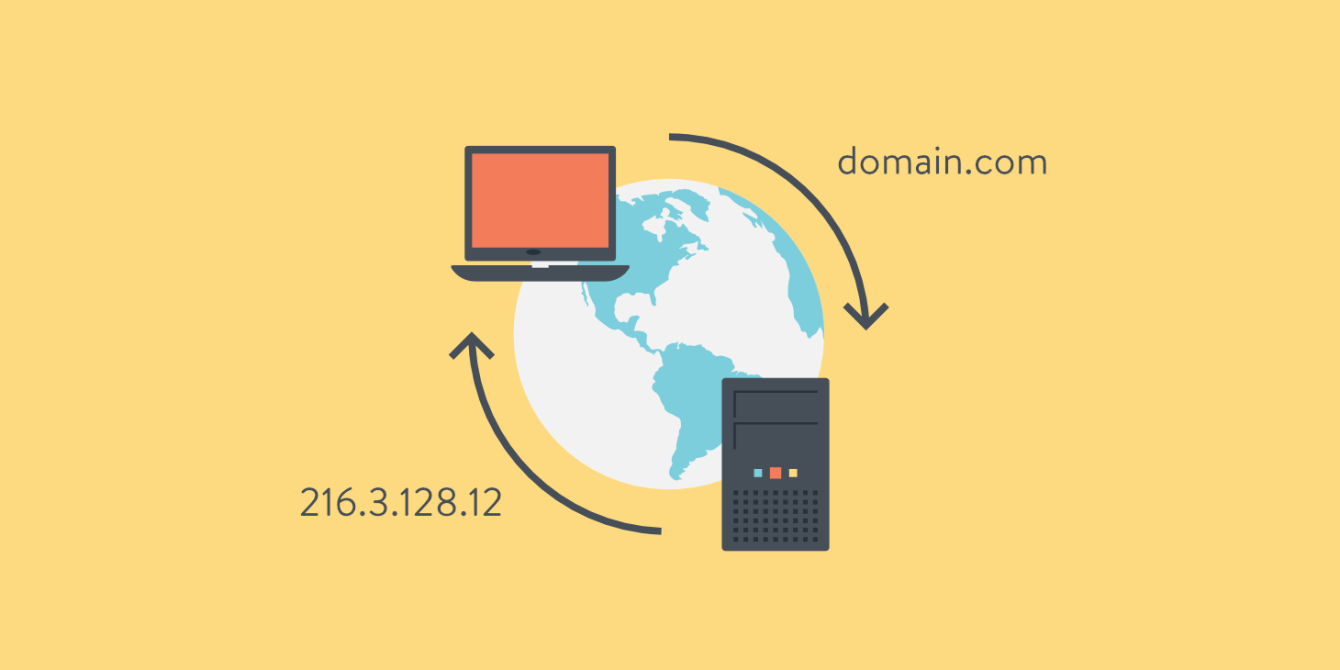
Before we begin, let’s explain what a DNS is. DNS stands for Domain Name System, which is the system that translates domain names into IP addresses. This system is essential for surfing the internet. Without it, we’d be forced to enter the IP address of every website we want to visit.
How to change DNS on MAC: the best servers
Among the best DNS servers we certainly have those of Googlebut one should not underestimate those of Cloudflare e you OpenDNS. In particular, those of Google are the following:
- Server DNS principale: 8.8.8.8;
- Alternate DNS Server: 8.8.4.4.
Those of Cloudflare instead they are:
- Server DNS principale: 1.1.1.1;
- Alternate DNS server: 1.0.0.1.
As for the DNS offered by OpenDNSare available:
- Server DNS principale: 208.67.222.222;
- Alternate DNS server: 208.67.220.220.
Advise: to help you choose the right DNS server, it must be emphasized that those of Google and Cloudflare are useful for visiting sites that are not accessible from Italy, as they are international servers. Furthermore, they are DNS rather fast in response and therefore very useful. As far as OpenDNS is concerned, however, these DNS offer the advantage of being able to activate the parental control function, in order to avoid mistakenly accessing particular websites, such as those for adults.
How to find the network settings control panel on Mac
To change the DNS on Mac, you will need to access the network settings control panel. To do this, follow these simple steps:
- Click on the Apple icon in the upper left of the screen
- Select “System Preferences” from the drop-down menu
- Select “Network” from the System Preferences menu
How to select the desired network connection
Once you are in the network settings control panel, you will see a list of available network connections. There may be an Ethernet (wired) connection and a Wi-Fi connection. Select the connection you want to use to change DNS.
How to change DNS on Mac
Now that you’ve selected your desired network connection, you can change your DNS. Follow these steps:
- Click the “Advanced” button at the bottom right of the network settings control panel.
- Select the “DNS” label at the top of the window.
- Click the “+” button at the bottom left of the window to add a new DNS server.
- Type the IP address of the DNS server you want to use.
- You can add more DNS servers by clicking the “+” button and entering the IP addresses of the additional servers.

How to check if DNS has been changed
After changing DNS on Mac, it is important to check if the process has completed successfully. To do that, follow these steps:
- Open Terminal on your Mac
- Type “nslookup” followed by the domain name of a website you want to visit (for example, “nslookup www.google.com”).
- Verify that the DNS server you just added appears in the search results.
How to change DNS on MAC, easy and fast!
As you have seen, changing DNS on Mac is a quick and easy process. By following these steps, you can improve your internet browsing experience and increase the loading speed of websites. Remember that you can always go back to the default DNS settings. Find out how to change DNS on Windows.