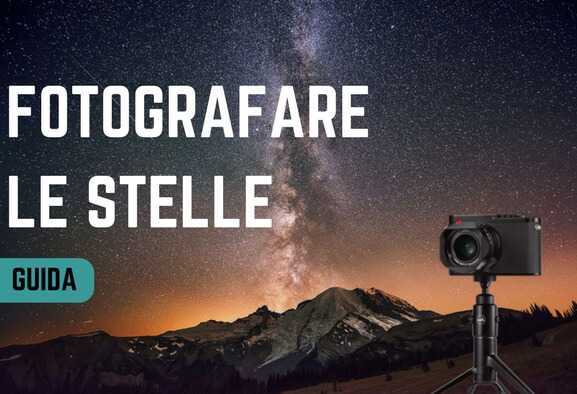
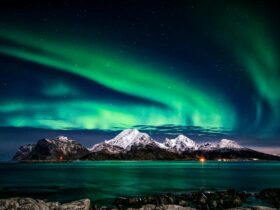
In this guide we will address a topic that is often a source of doubts and perplexities for those who are still beginners with photography: how to photograph the stars
Being a very large topic, we will divide this discussion into several parts. We will focus on wide field astrophotography.
In this first part we will talk aboutnecessary equipment to start photographing the night skies without having to spend a fortune.
What do I need to photograph the stars?
Just a common camera, Reflex or Mirroless does not matter, with a quite bright lens (i.e. from f / 4 to go down). The format of the camera (Full Frame, Aps-C, Micro 4/3) matters less than what one might commonly think. An entry level is also fine if combined with the right lens. What is needed is therefore:
- A good tripod
- A remote control with interval-meter
- A good goal
- A suitable area
- The right evening
So let’s start with the shopping list!
The good tripod
The choice is not difficult, you need something sturdy but not too heavy. There are solutions for every pocket, we will limit ourselves to products with costs under € 100.
If you want, in addition to those listed above, you can go for more expensive solutions. But already these are just fine (and also solutions from other brands with similar characteristics).
The remote control
Very easy and fairly inexpensive choice. We have no particular recommendations other than checking compatibility with your camera. Here are some ideas (check compatible camera models).
No products found.
The right goal
To start, the classic 18-xx (on aps-C) or 28-xx (on Full Frame) can also be fine but it would certainly be better to take something more suitable. Let’s see the best solutions within € 400.
Remember to select the right mount for your camera!
Universal for Reflex aps-C
Universal for Mirroless aps-C
Universal for Full Frame
The right area
Finding the right area is a bit problematic. It really depends on where you live but you can certainly set requirements:
- No lights within a few kilometers
- Presence of a clearing
- Low humidity
These are the three basic requirements.
Any light present in the vicinity could disturb our result, preventing with its glow a good vision of the starry sky.
The clearing will be used to have the necessary space to frame a good portion of the sky.
Having little humidity will be a boon to get a sharper photo and above all to prevent condensation from forming on your lens! This last requirement is the most difficult to satisfy here in Italy. If you want it is not strictly necessary … but eventually bring a cloth with you to remove condensation from your lens.
The right evening
Yes, the stars are very picky and don’t always show up! When there is a moon in the sky it is practically impossible to be able to photograph the stars! Similarly, a cloudy evening will not show us anything.
But how to choose the right day? First you need to refer to the phases of the moon.
Usually when the moon is in the waning phase it occupies the sky after 3-4 in the morning. So you can go and take pictures of the stars about every end of the month.
Always check and plan your outing by checking the weather forecast and taking into account the sunrise and sunset times!
Photographing the stars: how, when and what it takes – Part 1
That’s all for now. At this point we are well equipped and can start venturing with the camera up to the stars!
In the next part we will talk about how to set up our camera and some tricks of the trade.


