
In this guide we will address a topic that is often a source of doubts and perplexities for those who are still beginners with photography: how to photograph the stars
Being a very large topic, we will divide this discussion into several parts. We will focus on astronomical photography wide field. In this third part (first and second) we will talk about the work of post production to be made on the shots taken.
Post-production of the single shot of stars
Once back home, and had a good sleep, we will find ourselves in front of more photographs and a series of dark frames.
For the single shot the work is usually very simple.
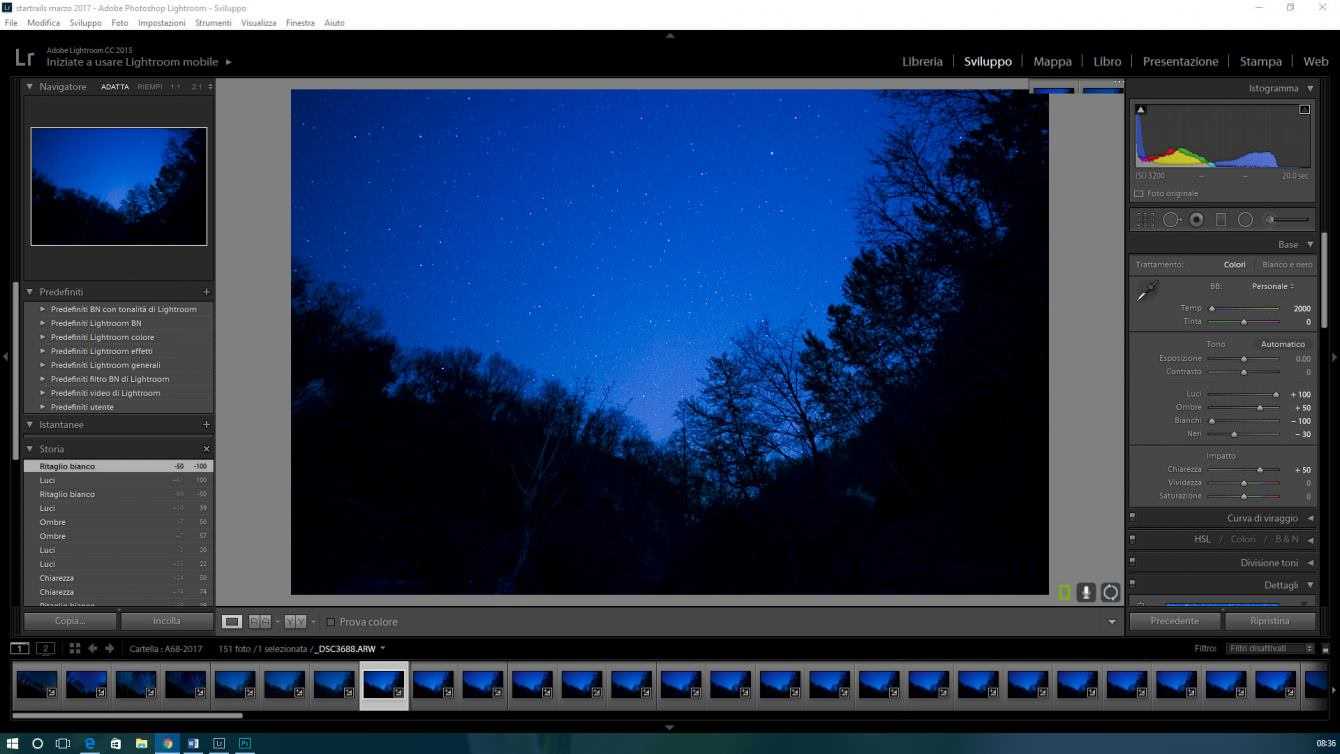
You will have to intervene on the various sliders to get a starry sky with a similar color to when seen live at the time of shooting. The above is just an example, which you can take for granted, of how highlight the stars.
Then export the .jpg of the photo and yes subtracts the dark frame with Adobe Photoshop with the command “Apply image”.

We will have thus obtained our photo to the stars, with a few simple steps.
Post-production for Startrails
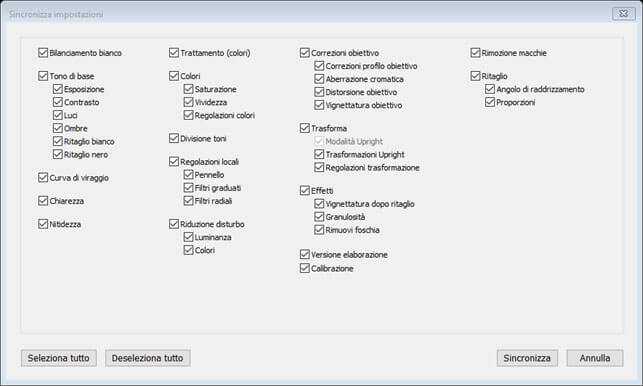
In this case the work becomes complicated, but not too much. Starting from when done on the shot above, we apply the same “settings” with the synchronize command Adobe Light Room. Be careful in this case NOT to apply the lens profile correction.
We then export all photos and dark frames in JPG format. We should now use another program called StarStaX which you can download for free here.
The program has a very simple interface.
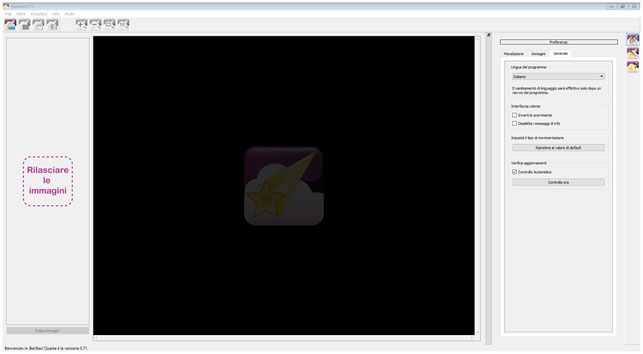
In chronological order it prompts you to perform the following operations:
- Enter the folder containing the images
- Enter the folder containing the various dark frames
- Select mixing mode (in our case “lighten”)
- And then click on “Start the process”
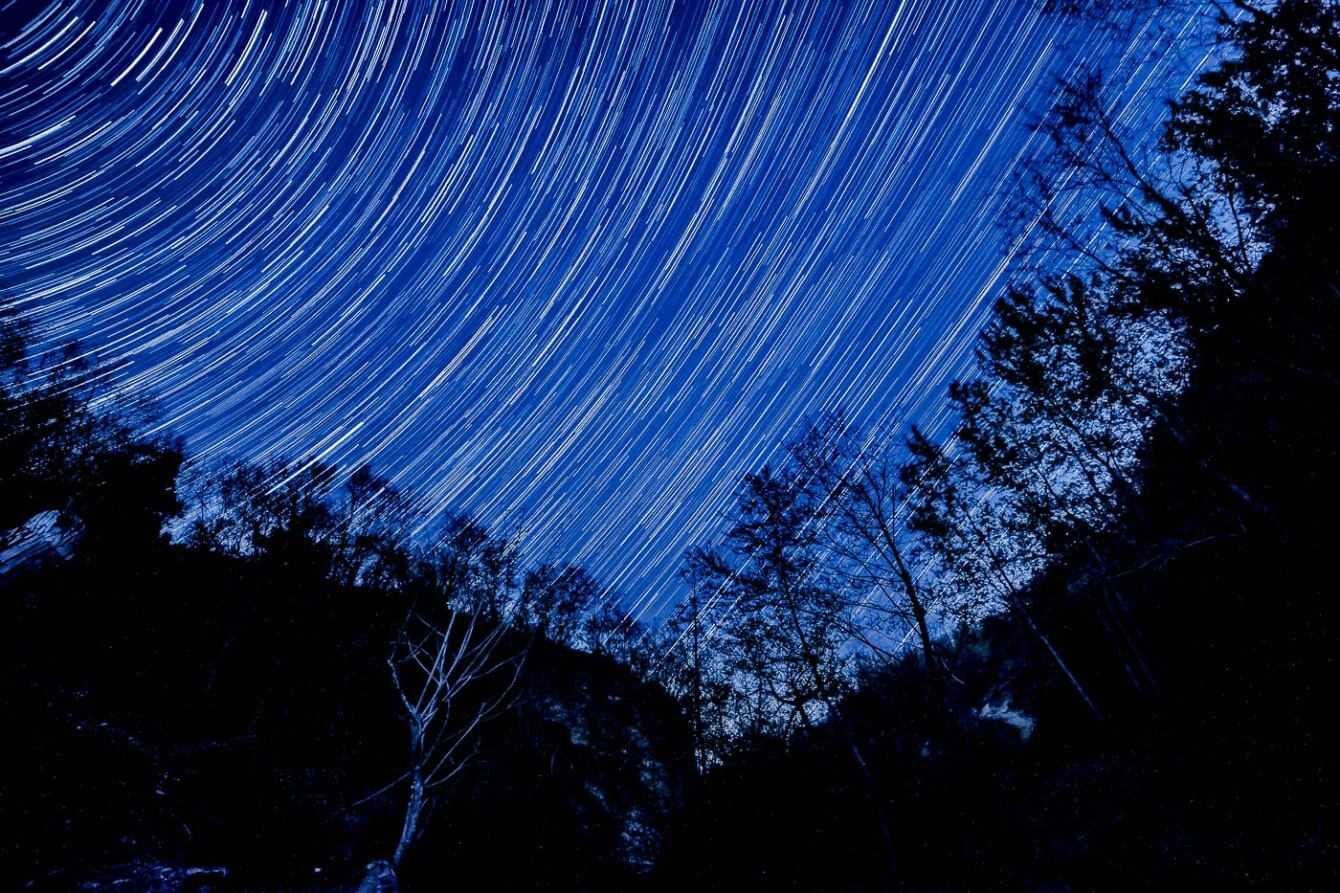
At the end of its elaborations we will have a .jpg file containing the strartrails.
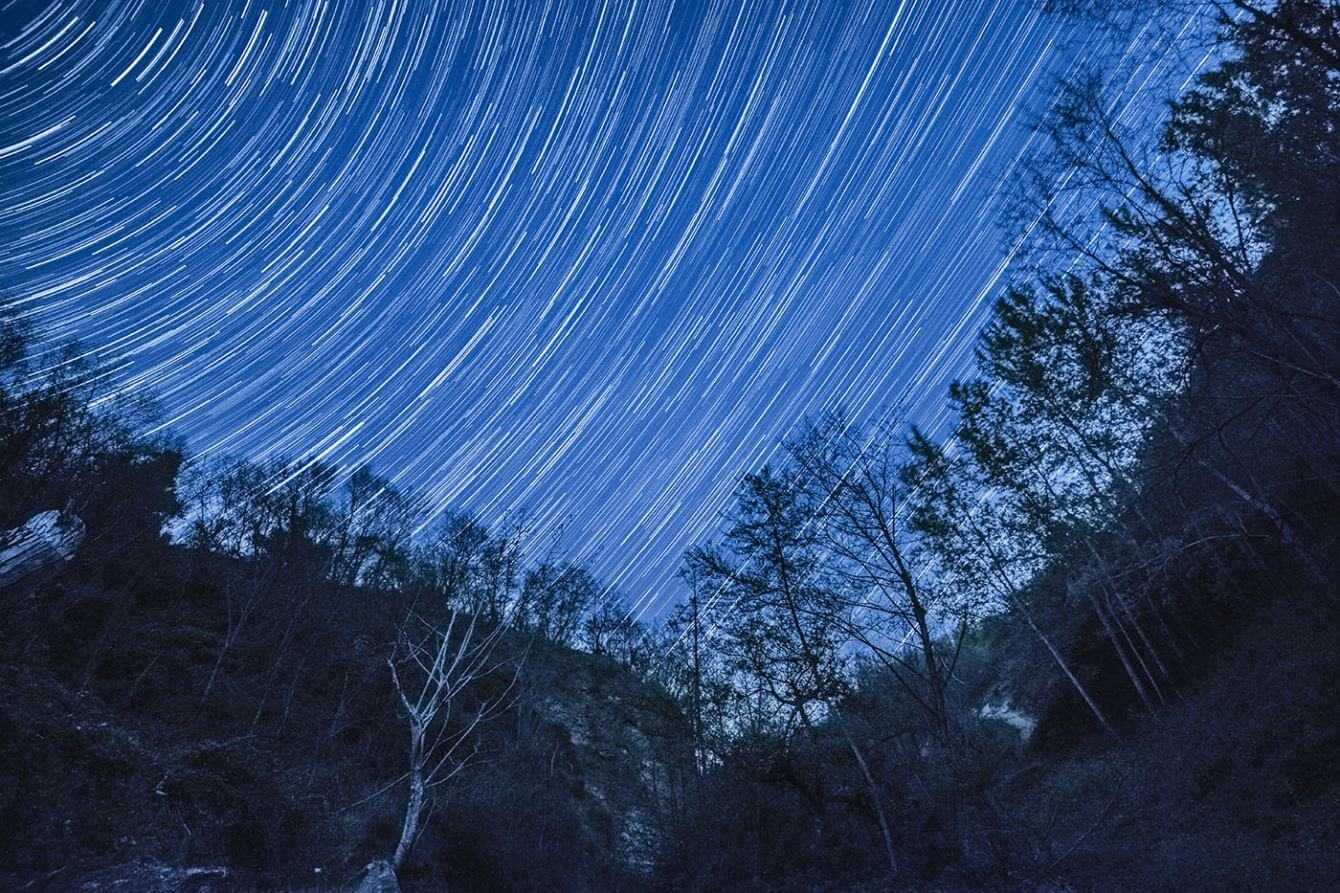
As you can see the file is still raw. We will have to go back up Light Room and rearrange the various sliders, with the same logic as before. We will get something similar to the photo below.
Our final result! This concludes our short guide.
Good light everyone and have fun with the stars!